
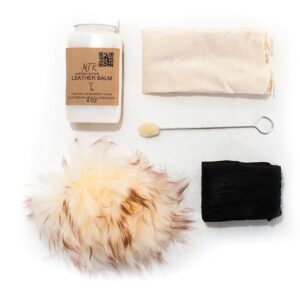


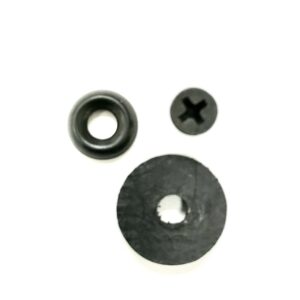

 Poly mallets (plastic mallets) are the next level up from wooden mallets; they’re inexpensive and available in a wide variety of weights and sizes.
 Rawhide mallets, though lacking the durability of poly mallets, offer a steadier and more consistent impact on leatherworking tools including:

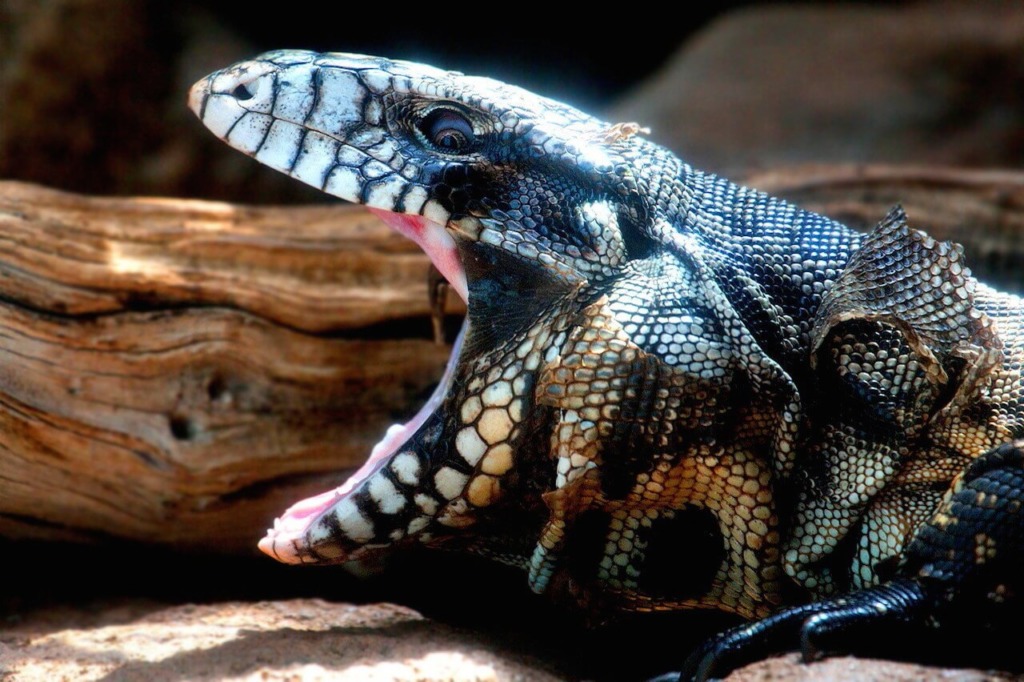

Hello, mate! Grab your Indiana Jones hat and a cheesy Australian accent, because today we’re going to be talking about lizards!
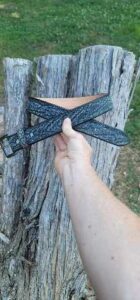
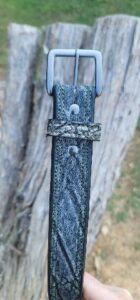
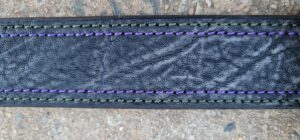
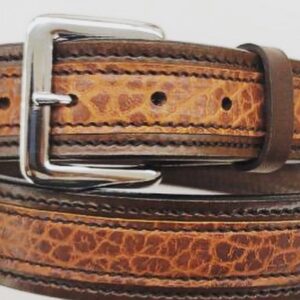
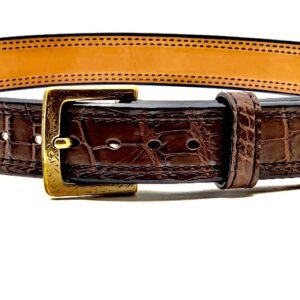
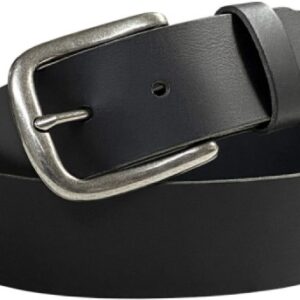
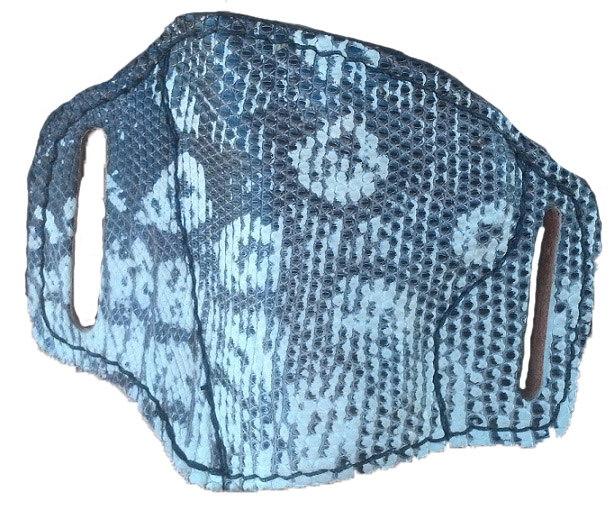
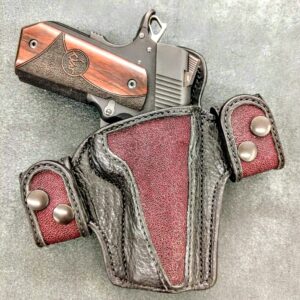
I’m not going to spend too much time selling this type of leather, because clearly these creatures are the closest thing we’ve got to real dinosaurs, and I think that’s all that really needs to be said. When you’re dealing with lizard skin, you’re going to have a wide canvas of wild and florid patterns and colors to choose between, and a leaping plethora exotic creatures, such as snakes and crocodiles, to make your base. You can’t deny this leather’s attraction. The bright blaze against slick scales catches the eye better than a leering snake, scaling over a proud, distinctive, and feral quality truly unique among leathers. That, and lizard skin is pretty darn tough.


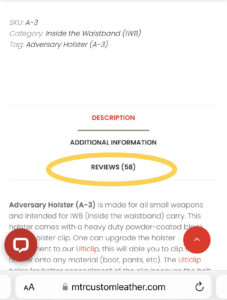
How to place an order- MTR Custom Leather
It’s easy to place an order, choose your product, design it with several options, add to shopping cart & MTR starts handcrafting the order!
When you come to checkout, you can decide on your shipping options (expedite or standard shipping) more information check out our TERMS/SHIPPING PAGE
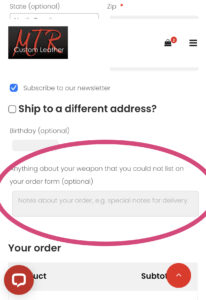
Also, at checkout there will be a comment box where you can add any thing else about your order regarding your gun make and model, custom features, alterations, etc.
After you receive your order, then please leave us a review on Google, Facebook and the product that you ordered.
Leave us a Google Review:
https://g.page/r/CU9Ww-brV4m4EB0/review
Buy NOW:
https://www.mtrcustomleather.com
Social Media Links:
https://www.facebook.com/MTRCustomLeather/
https://twitter.com/MTRCustomLthr
http://www.instagram.com/mtrcustomleather.com
https://www.pinterest.com/mtrcustomle0877/pins/
https://www.youtube.com/channel/UCtRq6Rq87k-NteeBKQpOYGg
https://www.linkedin.com/in/mtrcustomleather
https://www.tiktok.com/@mtrcustomleather?_t=8gcY88UyRJb&_r=1
Affiliate Program Link: leather, leather tools, patterns and more click the link below:
https://www.weaverleathersupply.com/?ref=mtrcl
Travel & Save
https://www.booking.com/index.html?aid=8004446
Customer Service:
em: sales@mtrcustomleather.com
ph: (336) 879-2166 or (336) 879-2767
Check out our sister site: Tactical Gear, holsters, concealment bags, light and lasers attachments, ar parts and more!
http://www.southernedc.com
Check out our EBAY Store:
https://www.ebay.com/usr/mtrcustomleather
After Hours:
*Feel free to google message us or facebook message us
*Visit our site for a fast response with our LIVECHAT experience
https://direct.lc.chat/10104497/
Daily Blogs:
https://www.mtrcustomleather.com/blog-2/blog/
FAQs Questions are Answered:
https://www.mtrcustomleather.com/faqs/
Join our loyalty Program/Brand Ambassador:
https://www.mtrcustomleather.com/contact/